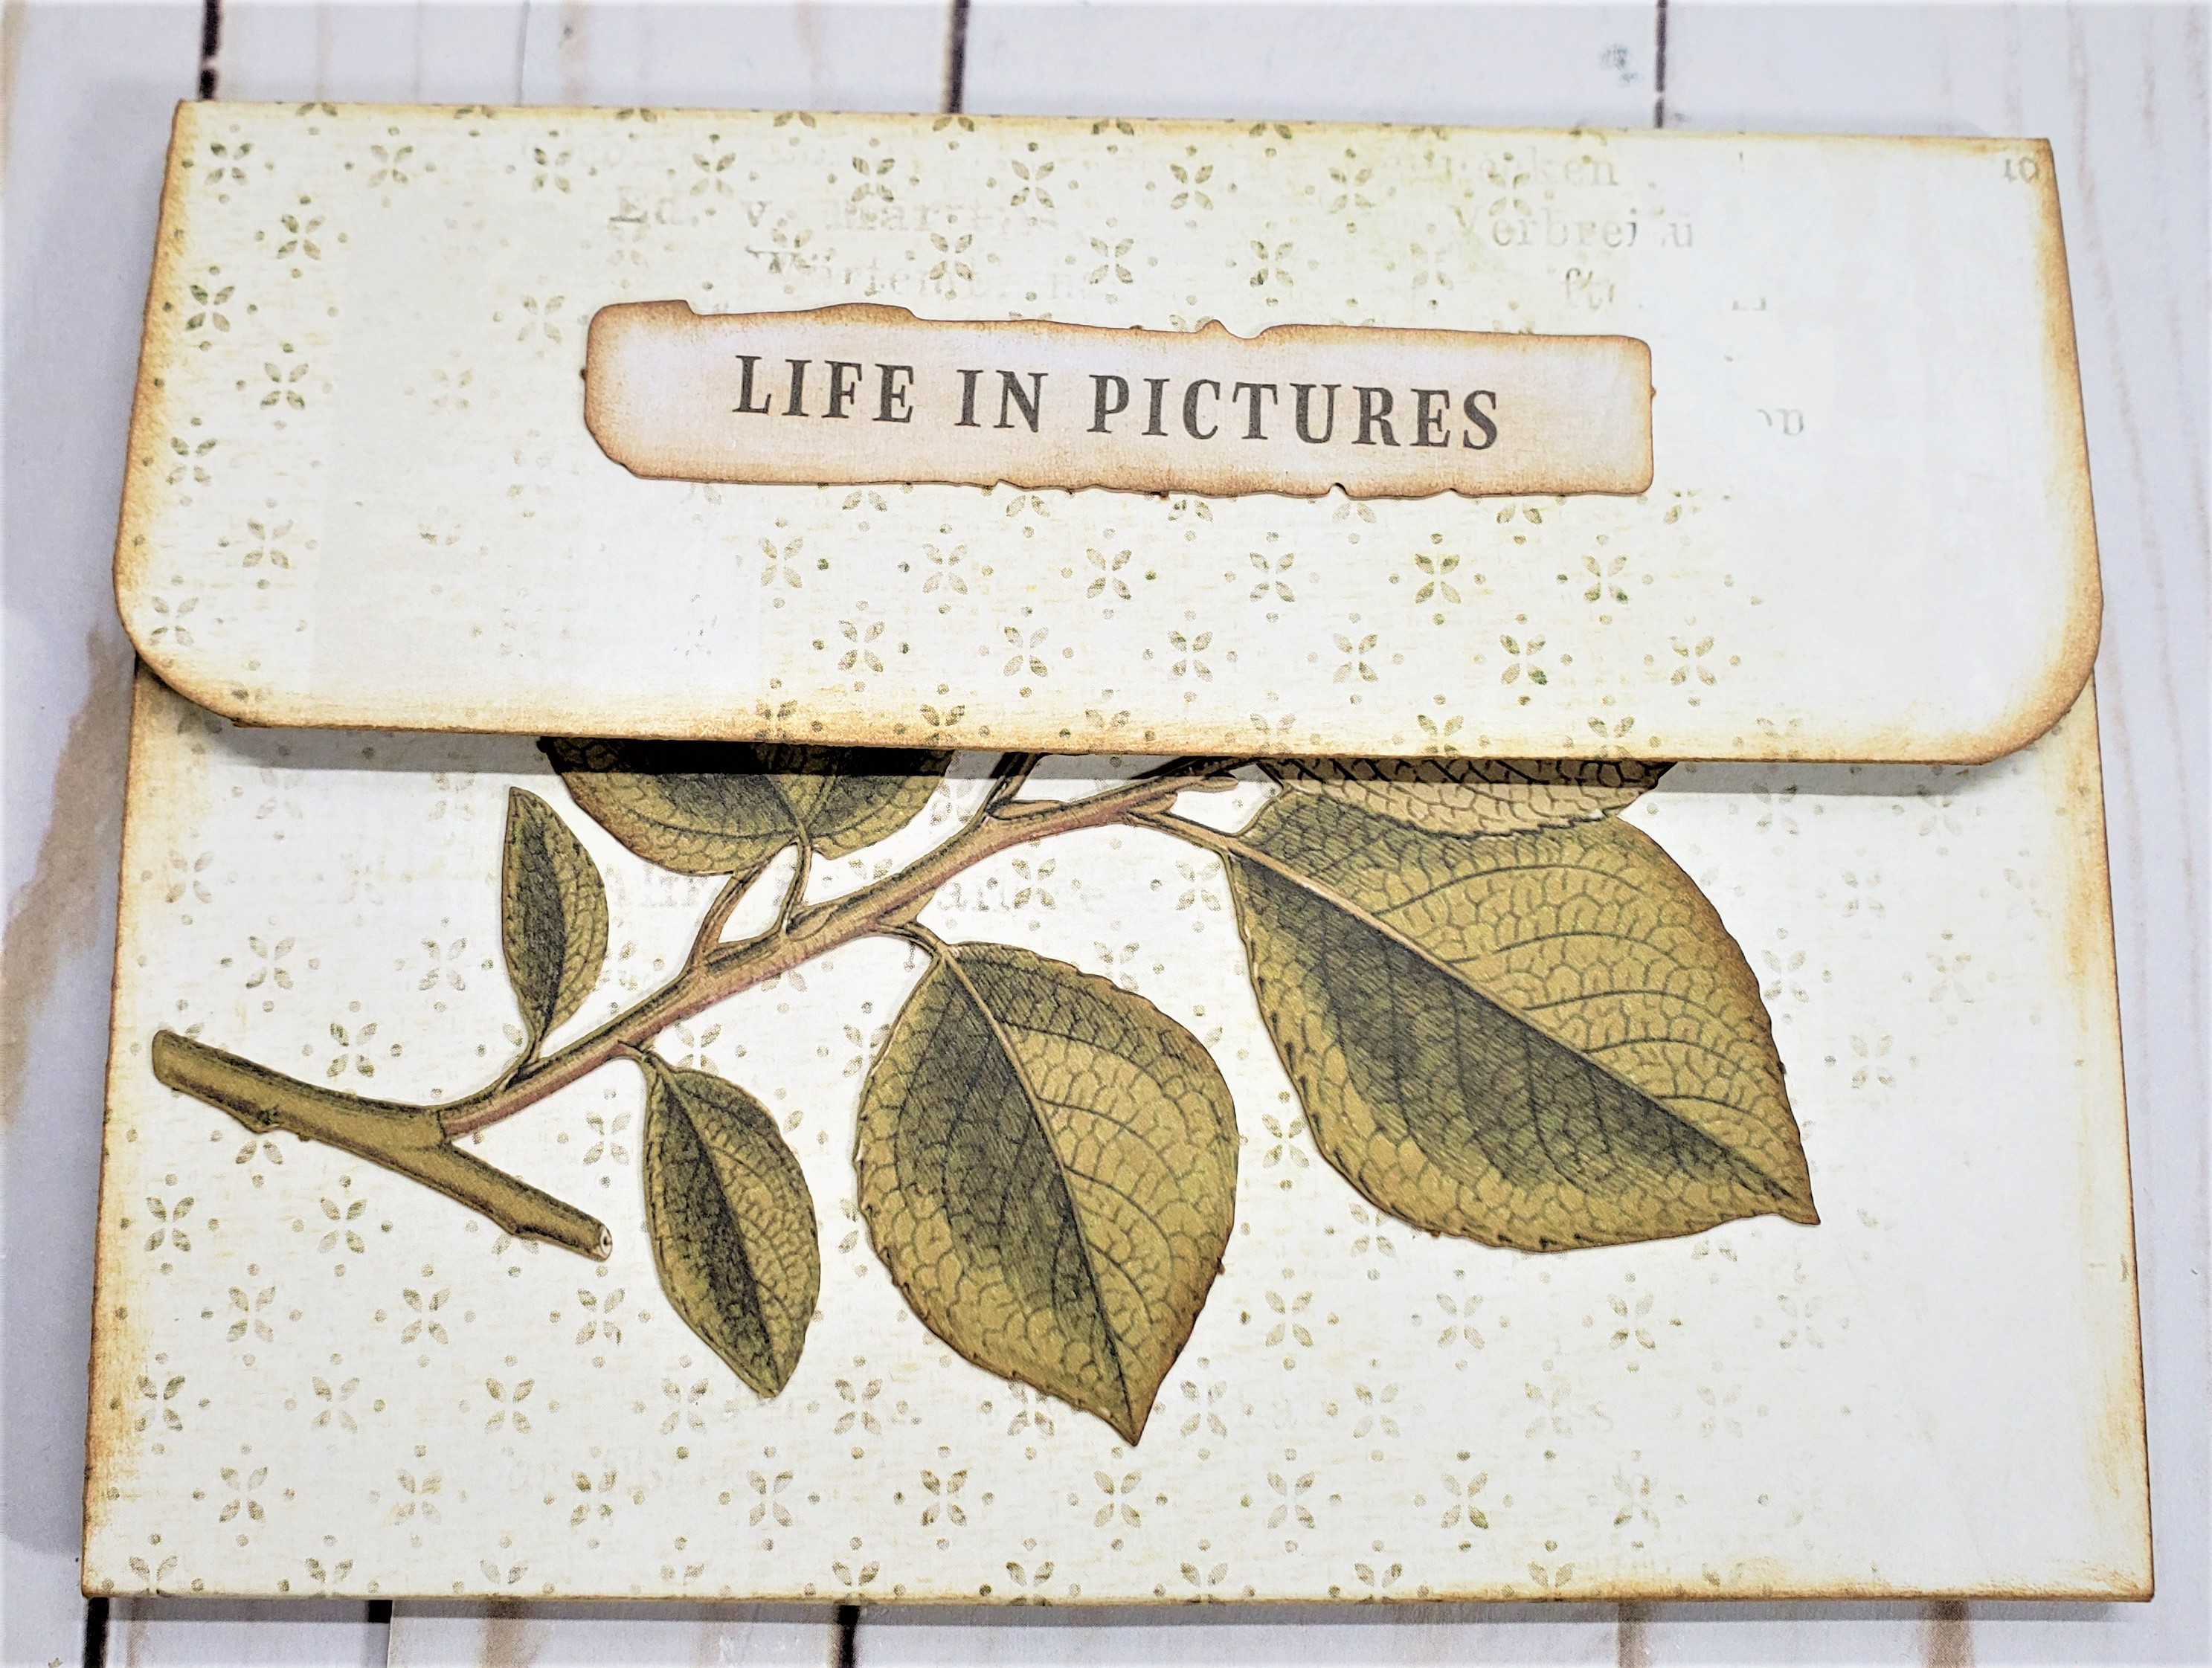
Book Box with Accordion Files Pouches
using the beautiful 49 and Market Vintage Artistry Essentials. This is my design team project for Pear Tree Treasures in which I used Eileen Hull's Book Box Die. This is probably the easiest box I've ever made using this die, everything is right there for you to simply cut using your die cutting machine and put it together....easy peasy! All of these products I used for this project can be found over at Pear Tree Treasures and I will have a link below to that fabulous shop! I will also have a link below to my youtube walk through and a materials and cutting guide so you too can make this easy project. What a super fun one and useful to store pictures, in those accordion files or journaling, notes or letters. So so many ways to use this fun Book Box and make it your own way, but if you like what I did, it's an easy one to replicate.

On the front cover, I loved the little pop of a turquoise color in the pattern paper, so I used some sheer ribbon close in color along with a pretty lace ribbon on top to give it a more subtle appearance. I loved the 2 full size sheets in this collection with amazing pop out cardstock pieces with butterflies, flowers, leaves and sayings. I inked everything using sepia ink and used a bit of colored ink to dab in a bit of that color on the cover here and there. The butterfly has some of the color as well and inked also. I love the spine piece in this book box die as it is already scored for you and makes for easy placement. I chose to mount it on the outside of my covers and used strips of the pattern paper to fill in. I added some ink and color to carry that pretty slight coloring around. The leaves, butterfly and sentiment are all curled to add dimension and pop dotted on along with some glue for extra reinforcement.

The spine. With the score marks already there, it means easy installation and I love the 'curve' it adds.

The back of the book box. This paper is just fabulous with the leaves and vines....so so pretty.

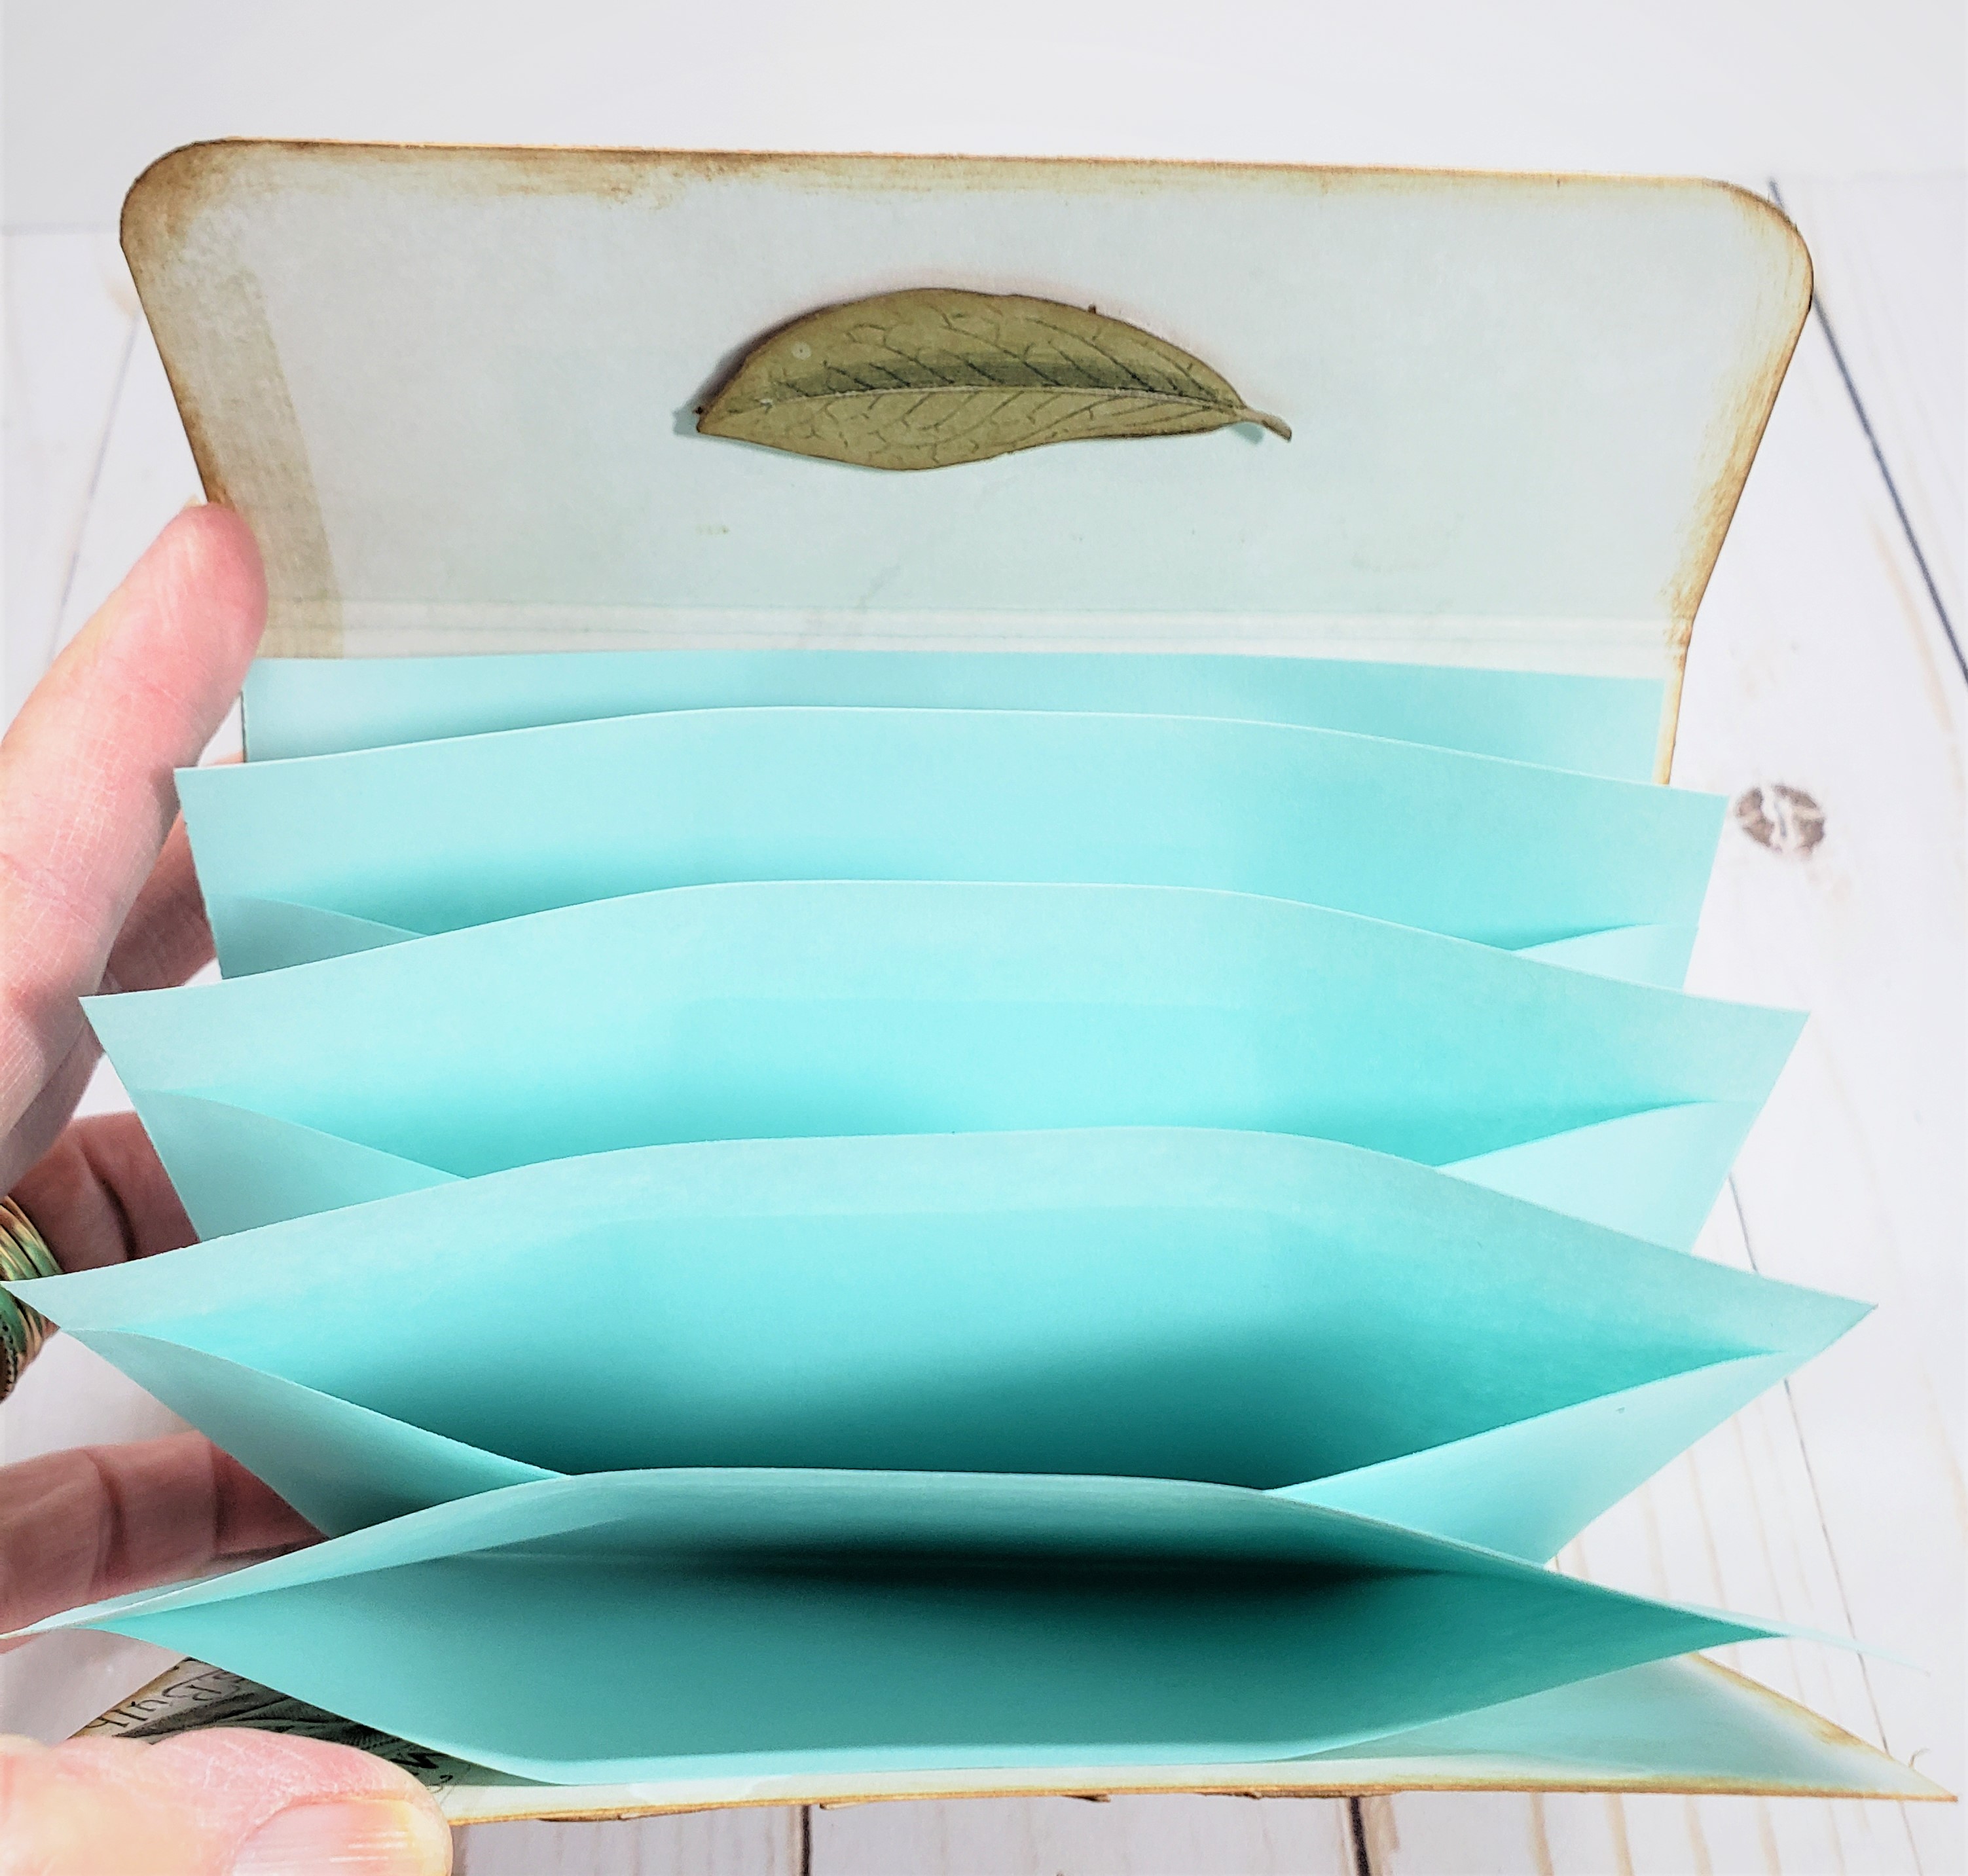
The book box opened I added the strips of pattern paper to the inside of the spine as well....so easy. The papers are too cool to cover, so I left this pattern on the inside cover alone. I liked how it came across and worked so well. Inside you can see the contents. I always place a piece of ribbon to aide in the lifting of the contents and besides, it's pretty also. There are 3 accordion files inside decorated with some of those awesome cardstock pop outs.
With the contents removed you can see the inside of the box. It has all been papered....inside, outside, sides all around. I added the ticket stubs inside.
Each accordion file pouch is secured closed with magnets so your contents will stay safely in place. I decorated the pouches with those cool pop outs and inked them all.

I covered the magnets on all the file pouches with pop outs. Inked and colored some.

I had some turquoise paper ( lucky me), and used them for the accordion pockets inside the file pouches. Each one has 5 expandable pockets. Lots of space in them!

Love this collection!

Such a pretty collection with lots of foliage!
Lots and lots of space in these accordion pouches!

Loved making these accordion pouches!

The pop outs are amazing and so many to choose from!

You can never have too much storage space!

I hope you liked my use of the super cool Book Box Die and what I chose to carry in mine.
Stop back again, as I will have many more design team projects coming up as I'm staying busy with creations.
MATERIALS LIST:
- Eileen Hull Book Box Die
- Sizzix Mat Board
- 49 and Market Vintage Artistry Essentials 12 x 12 Collection Pack
- Turquoise paper
- Sepia Ink
- Turquoise colored ink
- Turquoise sheer ribbon
- Cream colored lace
- Art Glitter Glue
- ScoreTape
- Magnets
Cutting Guide
*Pattern papers cut 1/8 smaller for box cover front, back, insides, spine, inside box inside bottom, all sides outside and inside.
*3) Patterned Cardstock (or plain your choice)
10 5/8 X 5 3/4. These are the pouches that will hold the accordion files inside.
*15) pieces of paper (I used plain colored paper)
8 X 5 1/2.
Assembly Instructions (please read all instructions before assembling)
Using the Eileen Hull Book Box die, cut all pieces and assemble per package instructions (super easy).
I cut my papers 1/8" all around to fit. Ink all pieces before assembly to make it easier.
Accordion File Inserts
3) Patterned cardstock pieces on the long side across the top score at: 2 * 2 1/8 * 6 1/2 * 6 5/8
Fold on score lines and burnish . When using patterned cardstock, check to make sure your patterns will be facing the correct position and not upside down when put together. I used a 1/2" corner chopper and did my fold over edges that will be the closure flap (shortest piece). Ink and set aside.
15) Plain papers with 8" across the top, score at 3 3/4. Fold on score line and burnish. Glue sides closed close to the edges.
On the front sides of the file pockets add 3 strips of score tape from just below the top edge to the bottom. One in the center and one of each side about a 1/2" apart ( you can also use a good strong glue like Art Glitter Glue) lay the second pocket on top placing the backside on first, line up and make sure they are straight. I use my Score Board as it is a huge help in keeping everything straight. Add adhesive to the front of that one and add the next in the same manner. Continue until all 5 pockets are adhered together. Place adhesive on the front of the top pocket and on the back of the bottom pocket. Get your Pouch and lay it flat with the inside facing up and carefully place the stack of pockets on to the pouch centering it evenly to the 'back' of the pouch first. Press down the make sure it is stuck down well. Remove the paper from the tape strips on the front (or add the glue) and carefully fold up the pouch making sure to keep the stack off the score lines and allowing for the 1/8" gusset to show along the bottom ( you would also do this when adding it down in the first step allowing the top fold over flap to show that 1/8" gusset). Now line up the sides of the pouch and stick it down. Burnish to make sure it has adhered well. Fold over the top flap and Voila! You have an accordion file in a pretty pouch! Decide what you want to do for a closure, I used magnets and add those now. I covered my magnets with some of the fabulous pop outs from the collection. You could also used velcro or ribbon or twine....your choice.
Add these to your box. I place a piece of ribbon in the bottom of the empty box then add my pouches, as it is easy then to simply pull up the ribbon sides and lift the pouches out.
Decorate the box cover to your liking and add your closure (if using a ribbon closure as I have, make sure to add that to the front and back BEFORE adding your pattern papers. If you have any questions, feel free to message me and I will be happy to help you.
Links
No comments:
Post a Comment