Pages

Friday, October 8, 2021


Like Bees to Honey2 Altered Cigar Box & Album/Folio

This was such a fun and easy project to do. The collection was so easy to work with. I've never really done much with digital collections, so this was a first for me, but love how it turned out.

I have a ton of cigar boxes that I pick up at flea markets, auctions and antique shops, and I love altering them and of course repurposing them. So, this time, I used the very cool Like Bees to Honey2 collection I printed out and totally covered the box....top, sides, bottom and insides. I added a jeweled bee to the top along with a black ribbon trimmed in gold and on the other side some flat back jewels in a 'bee' brown color. I also added a pull to open the box and used some flat back pearls in place of brads. I adhered the elements to the box top using Glossy Accents as I've always had such good luck with it keeping items in place without any movement at all.


The feet had of course to match the theme 'bees', so I had to make sure to color them with black and a gold band. The very cool papers I used around all the edges of the box has bees.

The bottom is also papered in a bee print.

I did something a little different with this one, I used the open lid of the box to be a base for a pretty cool 'pop out'. It is secured by a pretty black ribbon tied in a bow. The album/folio is still in the box waiting to be shown.

Untie the ribbon and get ready to open:

Presto! I just love this pop out! An easy to add piece that can hold of course 4 panels for pics....or journaling. I thought adding the bee pics just went perfect with this album.

What a fun fun album/folio! This collection sure makes creating easy. This album measures: 5 1/4 x 7 3/4 
I fussy cut the added flower and leaves to place on top of the black ribbon down the right side. I also fussy cut one of the bees from the cut a parts in the collection to use for some dimension.

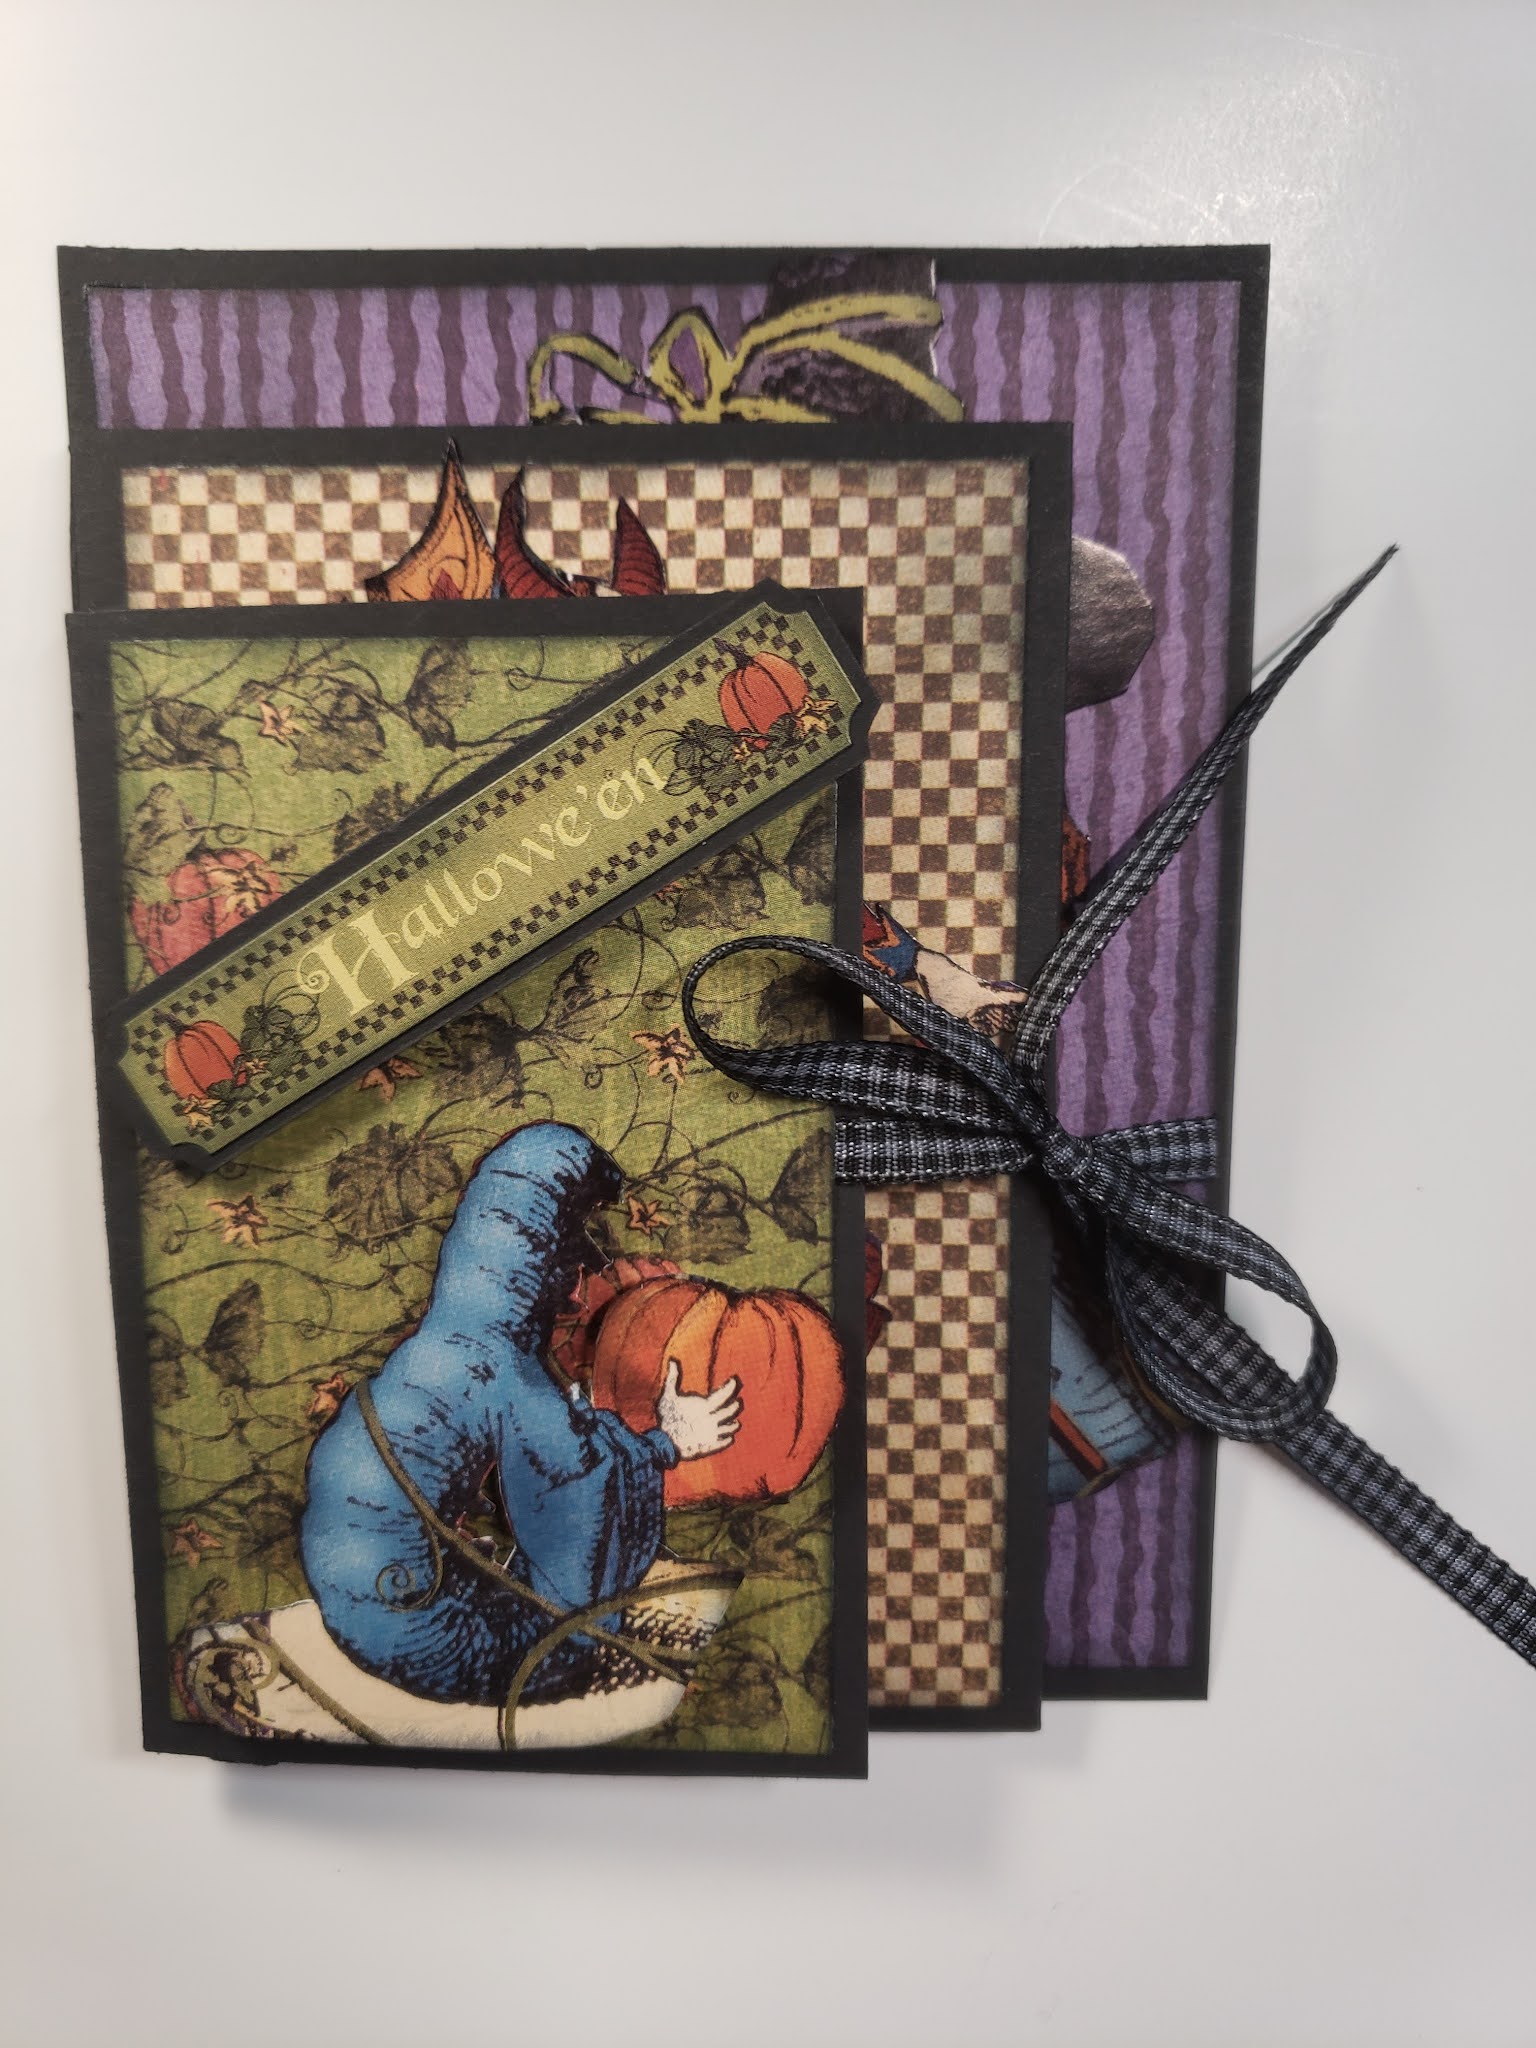
Showing you the pages of this pretty cool album/folio.


I hope you enjoyed this project. I will be posting more very soon, as I have so many I want to do! Stop back soon, so you won't miss any and follow me here for your convenience. You can catch my walk through of this project on my youtube channel, link is below!


Wednesday, October 6, 2021

Halloween Fold Out Card


I saw a friend of mine make a card using this method (1 piece of 12x12 cardstock) and thought it was a cool idea, so this is my take on Angela Beavers idea. I LOVE the Alice Collections and this one is the Graphic45 Hallowe'en in Wonderland Collection. I did some fussy cutting and used portions of the cover even!! :-)  Can't stand to waste any. This card folds out into 4 sections....and I left a section inside to place writing or even a photo. On the front I have fussy cut and popped up the elements. I used some ribbon that I inked to use for the closure. The pattern I thought went perfectly.


Opening the card to the first section, again, I fussy cut elements and characters from the cover of the collection and elevated some of it to add more interest.

Opening the card completely, shows the four panels. I wanted to be sure to leave a panel for writing on or adding a pic and or both. I did pop dot a tiny sticker on the bottom right though. Looks like the Queen of Hearts is talking about that panel as she points to it!! LOL She doesn't scare Alice though as she looks on.


Flipping the fold out card over to show the back panels. There would be plenty of space on these panels if you would like to add a photo or even more sentiments or journaling.


A quick and easy project for sure. Wouldn't this be a great idea to use in a mini album or folio? Small footprint but adds extra space. I love when that option is used. 

Be sure to click below to follow me so you don't miss out on any of my projects when I post them. If you are on youtube, don't forget to subscribe to my channel. I will be posting many projects coming up!!! 


Easel Tag

What a fun quick project! I made this for a swap I was in. I love the Alice Collections and this swap was geared to exactly that: Alice Tag Swap. I created an easel tag so it would be able to stand freely if my partner so desired. I love using dimensional embellishments, so adding the clock hands and Alice Book Charm worked out perfectly. I pop dotted Alice and gave her shoes some glossy accents along with the Curiouser & curiouser embellishment on the flip up top. 


The easel tag stand freely on it's own.


Lifting the flap at the top you will find the Chesire Cat grinning as he so famously does. He is hidden under that flap nicely however until exposed. I gave his eyes some glossy accents as well so they would stand out. What a fun and easy project to do!

The overall tag measures:  3 1/2 x 7