Pages

Sunday, February 27, 2022

Alice Pop up Card

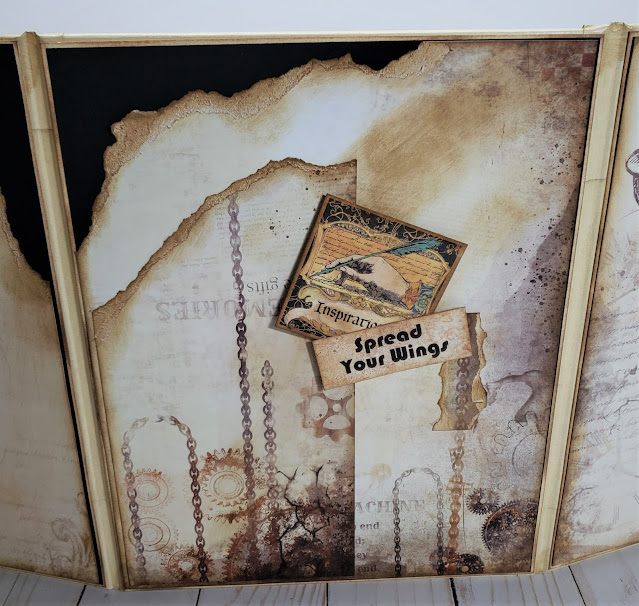
This is my Design Team project for Pear Tree Treasures, and what a cool project it was to do!! A fun and easy popup card to make!! This comes in a kit with everything you need. You can copy the example....or think outside the box and create your own. I tend to think outside the box...and I LOVE dimension...so, my card has several 'pops' using some nice weight chipboard as my pop dots. I inked everything, as I tend to prefer all the edges to be a color rather than just white. Such a fun and easy card to do. This kit even comes with the piece of transparency to add those pieces that appear to float in the air. I will be making an envelope for this one as I chose to extend some of my pieces outside the card area (me thinking outside the box), but if you stay within the confines, it would fit nicely in a 6 x 6 card envelope....but hey, do you and have fun creating!!


I absolutely love the Alice collections from Stamperia, they are indeed one of my favorites!!! This popup kit was a must have for me....super super fun and easy! I'm sure Monica (Pear Tree Treasures owner) has trouble keeping them in stock!! You can design your own by placing your pieces where you want as there are plenty to use. 
This is the back of the card. I even popped some of those elements up for dimension. I have the 2 removeable cards tucked in and perfectly in place. 

This is the kit folks. There are other popup kits available at Pear Tree Treasures so hurry over and check them out! I will add a link for your convenience:  http://peartreetreasures.ca

I will also have a youtube link shortly (still uploading....the joys of living rural), so check back shortly.

Youtube walkthrough: 

Friday, February 18, 2022


Alchemy Easel Card


This is my Design Team creation for The Rubber Buggy. I have created an easel card with the 8 x 8 pad and did some fussy cutting to add to this card. The overall card size is 5 1/2 x 4 1/4. Such a cool collection especially for a guy. This is the front of the easel card. I added a belly band and fussy cut the round piece to offset the belly band. 
Behind the belly band I fussy cut a couple tags and 2 bookmarks to add. Everything is inked in Sepia to a rustic look. Such really cool tags in this collection along with useful bookmarks.


Aren't these cool?! I love the bookmarks especially since they are quite useful.
Check out the papers, they are so incredibly cool! 
This is the back of the card. I couldn't help myself, have to decorate it all!!! This has a side pocket with 2 of the cool tags inserted. These tags are double sided which is another cool thing about these papers.
Look at these tags.... amazing!
The backside of those tags.
The card opened showing the inside and the bottom removeable stop/card.
This is the removeable stop/card at the bottom that allows the easel to stay up. Once removed you can write a personal note to the recipient inside and it will be held magnetically in place.
The inside of the removeable stop/card. Held in place via a magnet it can then be removed and a sentiment or personal note can be written. Place it back on the bottom and it will still in place until removed. Love this collection!
The back of the stop/card. Had to add a little somethin' somethin'! :-)


Back in place to show the easel card standing up.
Well now that the card is finished, it needs it's own envelope. I made this one and added a couple little embellishments from the Alchemy pad. Of course it is inked to match the card in Sepia.
I fussy cut that heart key to put on the back side of the envelope. I thought it gave it a little something extra. I also scored this envelope closure flap allowing an extra 1/8" since the card is a bit bulky.
I hope you like this project as it is an easy one to make and doesn't require a ton of materials. Materials list below:

Materials
Stamperia Alchemy 8x8 pad
Cream card stock
Sepia ink pad
Art Glitter Glue
Basic Grey large magnet

My youtube walkthrough link:  


Friday, February 11, 2022

Steam Time Triptych


This is my Design Team Creation for The Rubber Buggy using the Steam Time Collection. This was a different kind of project for me, as I have never really attempted any 'steampunk' projects (not sure if this would be considered a steampunk piece though). I had a good time creating this one, as nothing had to be too exact....although I am my own worst critic so, yeah, it did have to be pretty exact... LOL This is the 3 panel triptych I created. The papers are Steam Team my Lexi Designs with a little bit of Stamperia's Clockwise and Alchemy (for the smaller tags). I used stuff I had in my stash but will list materials at the bottom in a materials list.

The inside left panel. I have used several things from my stash and many are popped up for dimension. Washers are from the hardware store and the empty pocket watch case I had. So fun to create this! The twisted wire on the large washer is one side of the ear piece from the antique glasses I had. Lots to see...
These are the tags from this panel although I have added a few more not pictured. There really is a lot of room to have several! Pictures could also be placed on the back of them.
This is the center panel. Such fun! The twisted wire on the large tag is the other ear piece from those antique glasses. I had some metal wings I put on the boy sitting on the hour glass. The glass in the hour glass and on the above small panels with 'glass' I used glossy accents to give them that 'glassy look'. Those are smaller canvas panels I joined in a small triptych for this unique overall look. The stationary tags have chains and that match the hanging chain on top.
The tags from this middle panel...and yes, I added more that are not shown (I just couldn't help myself).
This is the right side panel. The tags on top with the chain running through them are from the Steam Time collection. I added some of the sentiment pieces also from that collection. This one 'Catch the Moment' is under a glass slide with a top hat on the side. The goggles, eye and hour glass have all been glossy accented to show as 'glass'. The man and lady are from some of Tim Holtz people and I had the 'pride' brooch in my stash (I clipped off the attached stick pin part). The lady on the bottom right is on that sheet of paper from the collection but I cut another one and popped her up along with her fan for dimension. I have added a tiny bit of color to the people for interest.
Tags from this right panel....and YES, I did add more that are not pictured. ;-)
Flipping this triptych around you are seeing the back sides which of course are papered in black cardstock then in Steam Time papers. Some of the Stamperia Alchemy small tags were used but the sentiments are also from Steam Time.


These are the backsides of the triptych. 

I hope you enjoyed this easy project. Below is a materials list:

Material List

  • 3  8X10 canvas panels
  • 3  2 1/2 X 2 1/2 canvas panels
  • Lexi Designs Steam Time Collection
  • Stamperia Clockwise papers
  • Stamperia Alchemy (tags)
  • Sepia Ink
  • Black cardstock
  • Cream cardstock
  • White Artist Tape
  • Tim Holtz People
  • Art Glitter Glue
  • Glossy Accents
  • Colored Pens
  • Miscellaneous items from my stash including pieces from antique shops, flea markets, antique auctions and thrift shops.  

My youtube walkthrough:

https://youtu.be/TGKHOiDjsEQ