Like Bees to Honey
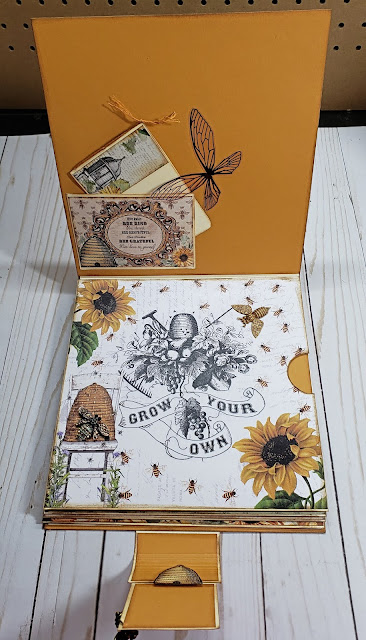
I had to include my bees in this cover shot, I mean they are famous right....you've heard of the "Bee'tles"....well here they are!!!
This project was indeed a fun and easy one, as the collection: Like Bees to Honey dictated what should be made. This is a brand new collection from a brand new designer: Kimmy Murray. I have to say, I used every single piece in this collection and must also say, the quality of this paper/cardstock far exceeded my expectations. It is truly amazing. The design work and graphics are spot on and the colors are vibrant and flow so seamlessly, a true pleasure to work with.
This mini with a twist is 8 1/2 X 9 with a rounded top spine. The magnetic closure on the bottom is also 'rounded' to carry through the theme and I thought worked well with this 'theme'. I added a set of sheer wings to the cover and an antique looking metal bee on the closure. I used cream cardstock as the base with some burnt orange (for lack of the exact color name) cardstock and sepia ink by Prima Color Philosophy throughout. I like to ink my projects as it gives me a finished feel.
I used that perfectly colored cardstock (I am calling it burnt orange) and scored it every 1/4" starting at 1/2" and ending then with 1/2". That allowed 1/2" to attach to the front and back covers securely. I thought the rounded spine also flowed better with the album theme...at least it did to me. :-) Inking again lightly on the score lines and heavier on the edges.
Opening the album, the inside of the front cover and it being a top bound album allowed for a cut apart to be used to hold a booklet. I used another pair of sheer wings to add some depth to the page. The colors in this collection are just so soothing and flow so easily.
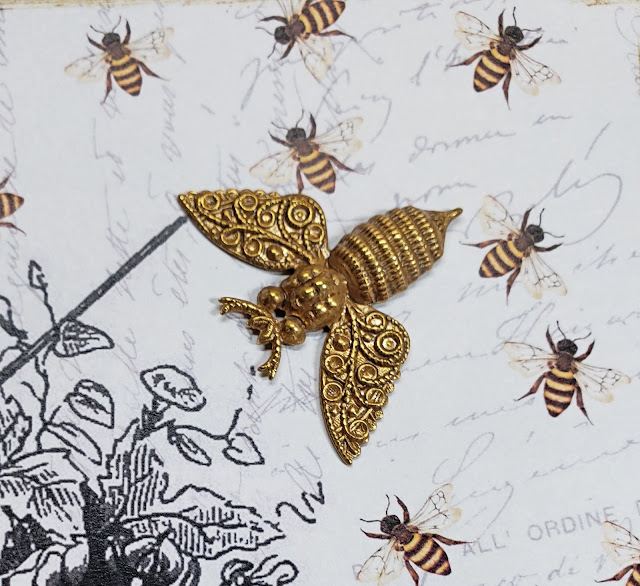
Page 1. I added a couple bee charms to give some dimension, got them at Hobby Lobby. One on the upper right is a solid golden one and the lower left bee is adorned in jewels...she must be the queen bee I guess...see the others heading to her. They know she has to be the one if she is wearing 'jewels'.
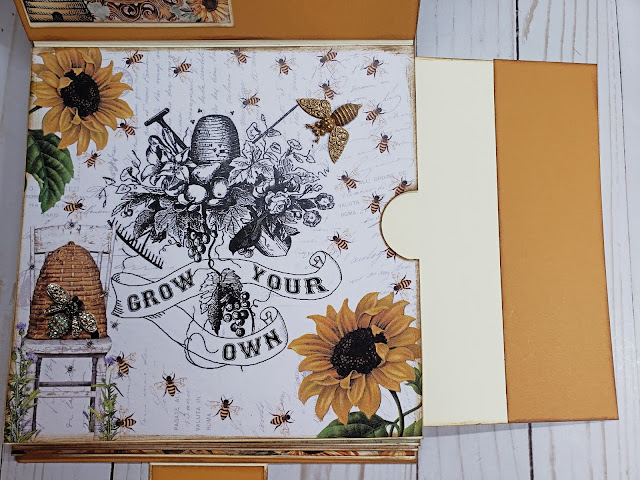
Page 1 with the large side pocket and the large tag exposed. I used the same cream cardstock and burnt orange cardstock to highlight the large tag. Finger notches were punched in to the front of the pocket page for easy access to the tag.
A nice large tag that could of course host a large picture or several smaller ones plus a lot of journaling.
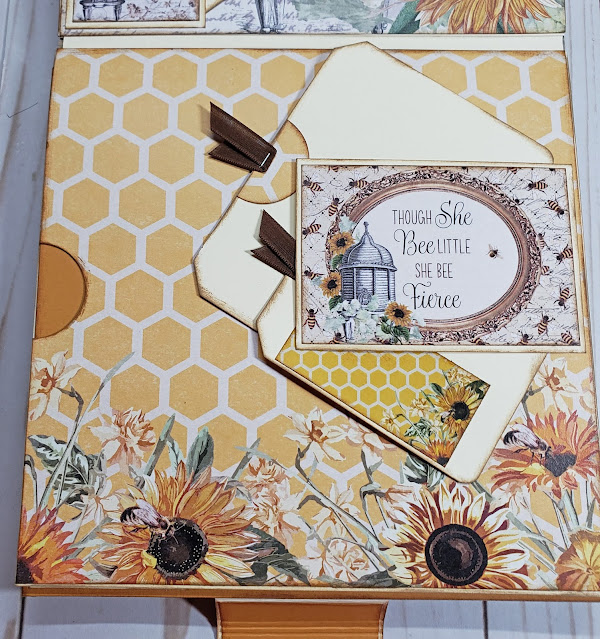
Page 2. Love the chicken wire pattern. Such a fun collection. Love that cut a part as well.... and I agree with the saying! ;-)
Page 5. This page has the cool different typed of bees in the graphics. This has a left large pocket with a large side pull tag rather than a right side.
Page 6. This is such a beautiful design. I love the coloring with the beautiful flowers and the muted under tones....stunning!
Page 8. I used more of the cut a parts for tag holders and of course made more tags. I like to make sure there is plenty of spaces for photos and journaling. Beautiful designs in this collection.
Inside the back cover. I used every available space I had. I wanted to use every single piece in the collection and I did.
I have a youtube walk-through of this project:
Take a moment and check it out. I'd appreciate it if you would click on the subscribe button, as I will be posting many more projects and will be doing some tutorials very soon!!
Note:
I would just like to say, I am a believer in giving credit where credit is due, therefore, if I use a tutorial by someone, I will certainly post that creators name. It holds true on design work, techniques etc. I think it's only fair and right to do so and hope others feel the same.


A big WOW. I will save this one... love the model. .. and the pape and bees ofcourse... 🐝🐝🐝
ReplyDeleteThank you so much!!!
Delete